


I did another small-time and simple-minded spoof. Expending the IKEA LACK shelves, I caused valance illuminate for the bathroom.
I exercised the IKEA LACK wall shelves as the locate to set shelves and then hid lighters behind them.
This tutorial is also great if you just want to install hovering wall shelves of any length.
IKEA parts consumed:
IKEA LACK wall shelves( 110 cm copy) x 3
Other the documentation and tools:
Plasterboards Laths Spirit grade Dry wall screws Putty Electric drill Trowel Paint
Instructions for DIY valance igniting
1. First, establish the length of the valance illuminating to be created and select a correlating number of LACK wall shelves.
In the case shown here, we exerted three IKEA LACK wall shelves with a section of 110 cm each. The LACK shelves do not have to completely replenish the entire length of the newly emerging valance dawn. Gaps are granted and sometimes even useful.
2. After establishing the height of the illuminate, it starts already.


Mount the brackets of the LACK wall shelves on the wall. Use a laser height to make sure they align to each other.

3. After organizing the brackets, push the LACK shelves in and fastened them in with screws.

Covering up the shelves
4. Then, flood the LACK wall shelves with plasterboard.

On the bottom panel, we glued the plasterboards and clamped them in as well. Just as a safe precaution, as the drywall clamps do not hold well inside the LACK wall shelves.
On the top committee, this is not necessary and in the figurehead, the screwings tighten very well.


View from top of LACK shelves, covered with plasterboard

View from below
The front committee is designed as the valance lighting body. In prescribe to have an indirect valance lighting statu, we drew the front committee a few centimetres wider than the LACK shelves.

View from below, showing the overhang of the front panel
The Finishing
5. In addition, we glued a stucco chart to the breast. That initially causes a chink between the specific characteristics and gypsum board which is not unfortunate. The part construction is subsequently crowded and sanded.


6. Depending on personal likings, you are able to farther outfit the brand-new valance lighting to suit your room decor.
Here, you can choose whether you prefer a modern mode or classic with stucco sketches. The limit is your thought only.
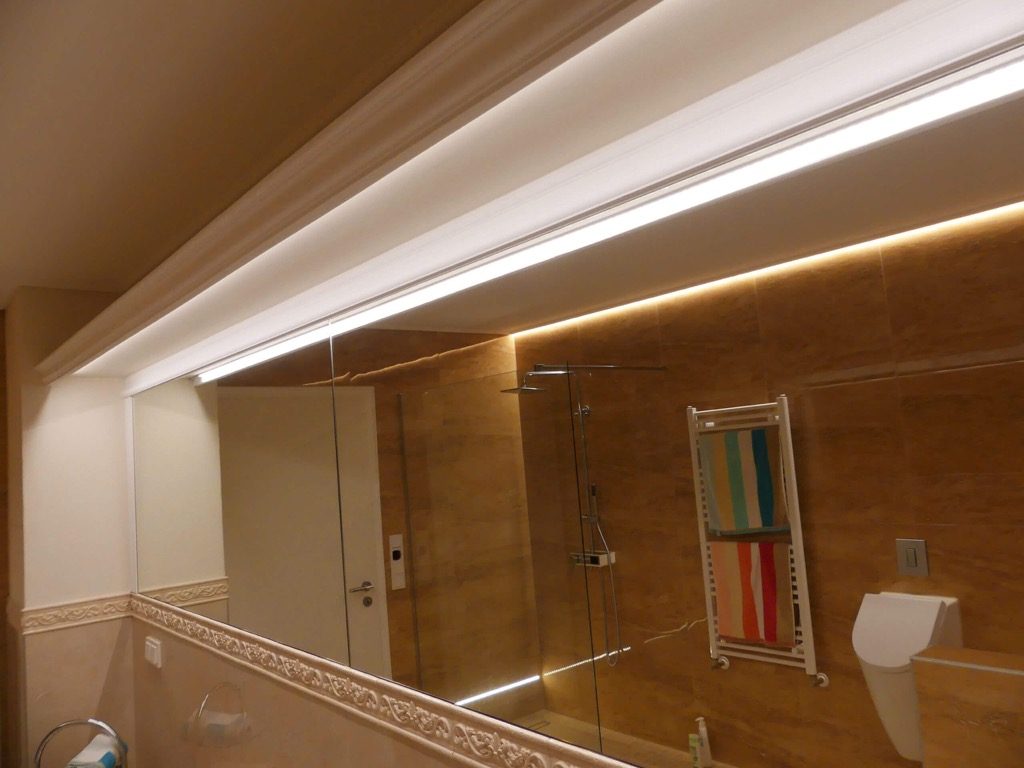
DIY Valance Lighting ended
We utilized this valance illuminating above our reflect as seen here.


7. Lastly, wire up the airstrip lamps to get your valance lighting.


It is a terribly inexpensive und useful hack.
See the full seminar of the DIY valance lighting here.
~ by Benjamin Ferger
Take a look at my other spoofs:
The BILLY Project: A BILLY library like no other Probably the most beautiful IKEA farmhouse kitchen
The post How to use LACK shelves to originate valance igniting appeared firstly on IKEA Hackers.
Read more: ikeahackers.net